

If you want consistent flavour and smooth performance from your device, learning how to clean vape coils properly is one of the most useful skills you can pick up as a vaper. Coils naturally collect residue over time, and knowing how to clean vape coils the right way can help you get more life out of each coil before you need a replacement.
In this 2026 guide, we’ll walk you through a complete, step-by-step process to clean vape coils, explain when it’s time to swap them out, and point you toward some great replacement options available at Artisan Vapor Pakistan’s largest one-stop vape shop network.
Whether you’re using a pod system, a sub-ohm tank, or a rebuildable setup, this guide will help you understand exactly how to clean vape coils so your device keeps performing at its best.
Why You Should Clean Vape Coils Regularly
Every time e-liquid is vaporised, a small amount of residue builds up on the coil’s wicking material. Darker or sweeter e-liquids tend to leave more residue behind than lighter, clearer ones. Over time, this buildup can affect flavour clarity and vapor production. That’s exactly why learning to clean vape coils on a regular schedule matters: it keeps your flavour tasting fresh and helps your device run efficiently.
Routine maintenance is also more budget-friendly than constantly buying new coils. If you clean vape coils properly after every few tanks of e-liquid, you can often significantly extend their usable life and get more value from your purchase.
Signs It’s Time to Clean Vape Coils
Before diving into the steps, it helps to recognise the signals that tell you it’s time to clean vape coils rather than wait it out:
- Muted or off flavour – If your favourite e-liquid suddenly tastes flat or different than usual, residue buildup is often the cause.
- Reduced vapor production – A coil clogged with gunk won’t heat e-liquid as efficiently.
- Gurgling sounds – This can indicate flooded wicking material that needs draining and cleaning.
- Visible discolouration – Darkened coil heads clearly show it’s time to clean vape coils before continuing to use.
If you notice any of these signs, it’s a good time to pause and run through a proper cleaning routine before deciding whether the coil needs replacing altogether.
Step-by-Step: How to Clean Vape Coils
Here’s the complete process to clean vape coils safely and effectively at home.
Step 1: Disassemble Your Tank
Remove the tank from your device and empty any remaining e-liquid. Carefully unscrew the tank and remove the coil. Take your time here; handling the coil gently prevents damage to the coil pins or wicking holes.
Step 2: Rinse or Soak the Coil
This is the core step when you clean vape coils. There are a few effective methods depending on how much buildup has accumulated:
Water Rinse Method
Run the coil under warm (not hot) running water, letting the water flow through the airflow holes to push out trapped residue. This is the simplest way to clean vape coils that have light buildup.
Soak Method
For coils with heavier residue, soak them in a glass of warm water or a 50/50 mix of water and white vinegar for 15–20 minutes. This loosens stubborn gunk that a quick rinse might miss. After soaking, rinse the coil thoroughly under clean water.
Alcohol Soak Method
Some vapers prefer soaking coils in isopropyl alcohol for a deeper clean, especially with sweeter e-liquid residue. If you choose this method, rinse the coil completely with water afterwards and let it dry fully before use, since any leftover alcohol must evaporate completely.
Step 3: Dry the Coil Thoroughly
After rinsing, shake off excess water and let the coil air dry for several hours; overnight is ideal. Patience is essential here; using a coil before it’s completely dry can affect flavour and performance. Avoid blowing into the coil, as breath moisture won’t help it dry.
Some vapers like to gently dry-fire the coil at a low wattage (without a tank attached) in short bursts to help evaporate any remaining moisture. If you choose this method, keep the bursts brief and low-power to avoid damaging the wicking material.
Step 4: Reassemble and Prime
Once your coil is completely dry, reinsert it into the tank, add a few drops of e-liquid directly onto the wicking holes to re-prime it, and let it sit for a few minutes before filling the tank and vaping again. Many people skip priming, but it makes a noticeable difference in how well your freshly cleaned coil performs.
Consistently following these four steps is the most reliable way to clean vape coils and keep them performing closer to new.
How Often Should You Clean Vape Coils?
The frequency depends on your usage habits and e-liquid choice:
- Heavy daily users may want to clean vape coils every 3–5 days.
- Moderate users can often stretch this to once a week.
- Sweeter or darker e-liquids tend to require more frequent cleaning compared to clearer, lighter blends.
- Sub-ohm tanks, which use more e-liquid and produce more vapor, may need attention sooner than smaller pod-style coils.
Building a simple routine, for example, cleaning every time you switch e-liquid flavours or refill your tank a few times, makes it easy to stay consistent.
Choosing the Best Vape Tank for Easier Maintenance
Some tanks are simply easier to maintain than others. When choosing the best vape tank for your setup, look for designs with easily removable coil heads and wide-bore drip tips for easier cleaning. Artisan Vapor offers a wide selection of coils compatible with popular tank systems, making it simple to find replacement parts that match your setup.
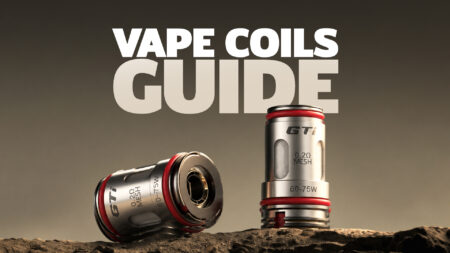
For example, mesh coil tanks like the Vaporesso GTX-3 Triple Mesh Coil or Vaporesso GTi Mesh Coils are popular for flavour production and are generally easy to clean thanks to their open mesh structure. Similarly, the Uwell Crown 3 Replacement Coil Heads and Uwell Caliburn G Replacement Coils are designed for tanks that are easy to disassemble, simplifying maintenance.
If you’re shopping for a new setup or considering an upgrade, picking the best vape tank with a maintenance-friendly design from the start can save you time down the road.
Vape Coils and Vape Mods: What to Know
Vape mod settings can directly affect how quickly your coils need cleaning. Running a coil above its recommended wattage range can accelerate residue buildup and shorten its lifespan. Always check the recommended wattage range printed on the coil packaging or listed on the product page, and keep your vape mods output within that range for the best results.
Pairing the right coil with the right vape mods setup not only improves flavour consistency but also reduces how often you’ll need to clean vape coils in the first place. If you use adjustable-wattage devices, take a moment to dial in the sweet spot for each coil type.
Recommended Coils Available at Artisan Vapor
If your coil has reached the end of its life even after a proper clean, Artisan Vapor has an extensive collection of replacement coils for nearly every popular device on the market. Here are some popular options worth checking out:
| Coil Name | Price Range (Rs.) |
| Aspire Nautilus BVC Coil | 700.00 |
| Aspire Atlantis Coil | 380.00 – 1,900.00 |
| Vopo Coils by Vaportech | 340.00 – 1,700.00 |
| Uwell Crown 3 Replacement Coil Heads | 500.00 – 2,000.00 |
| Aspire Breeze Replacement Coil Heads | 390.00 – 1,950.00 |
| Vaporesso Revenger NRG GT Coils | 800.00 – 2,400.00 |
| Aspire Tigon Replacement Coils | 420.00 – 2,100.00 |
| Sigelei Etiny Plus Replacement Coils | 350.00 – 1,750.00 |
| Lost Vape LYRA Replacement Coils | 520.00 – 2,600.00 |
| VOOPOO Vinci PnP Replacement Coils | 800.00 – 4,000.00 |
| Vaporesso Target PM80 Replacement Coils | 750.00 – 3,750.00 |
| Geekvape Aegis Boost Replacement Coils | 630.00 – 3,150.00 |
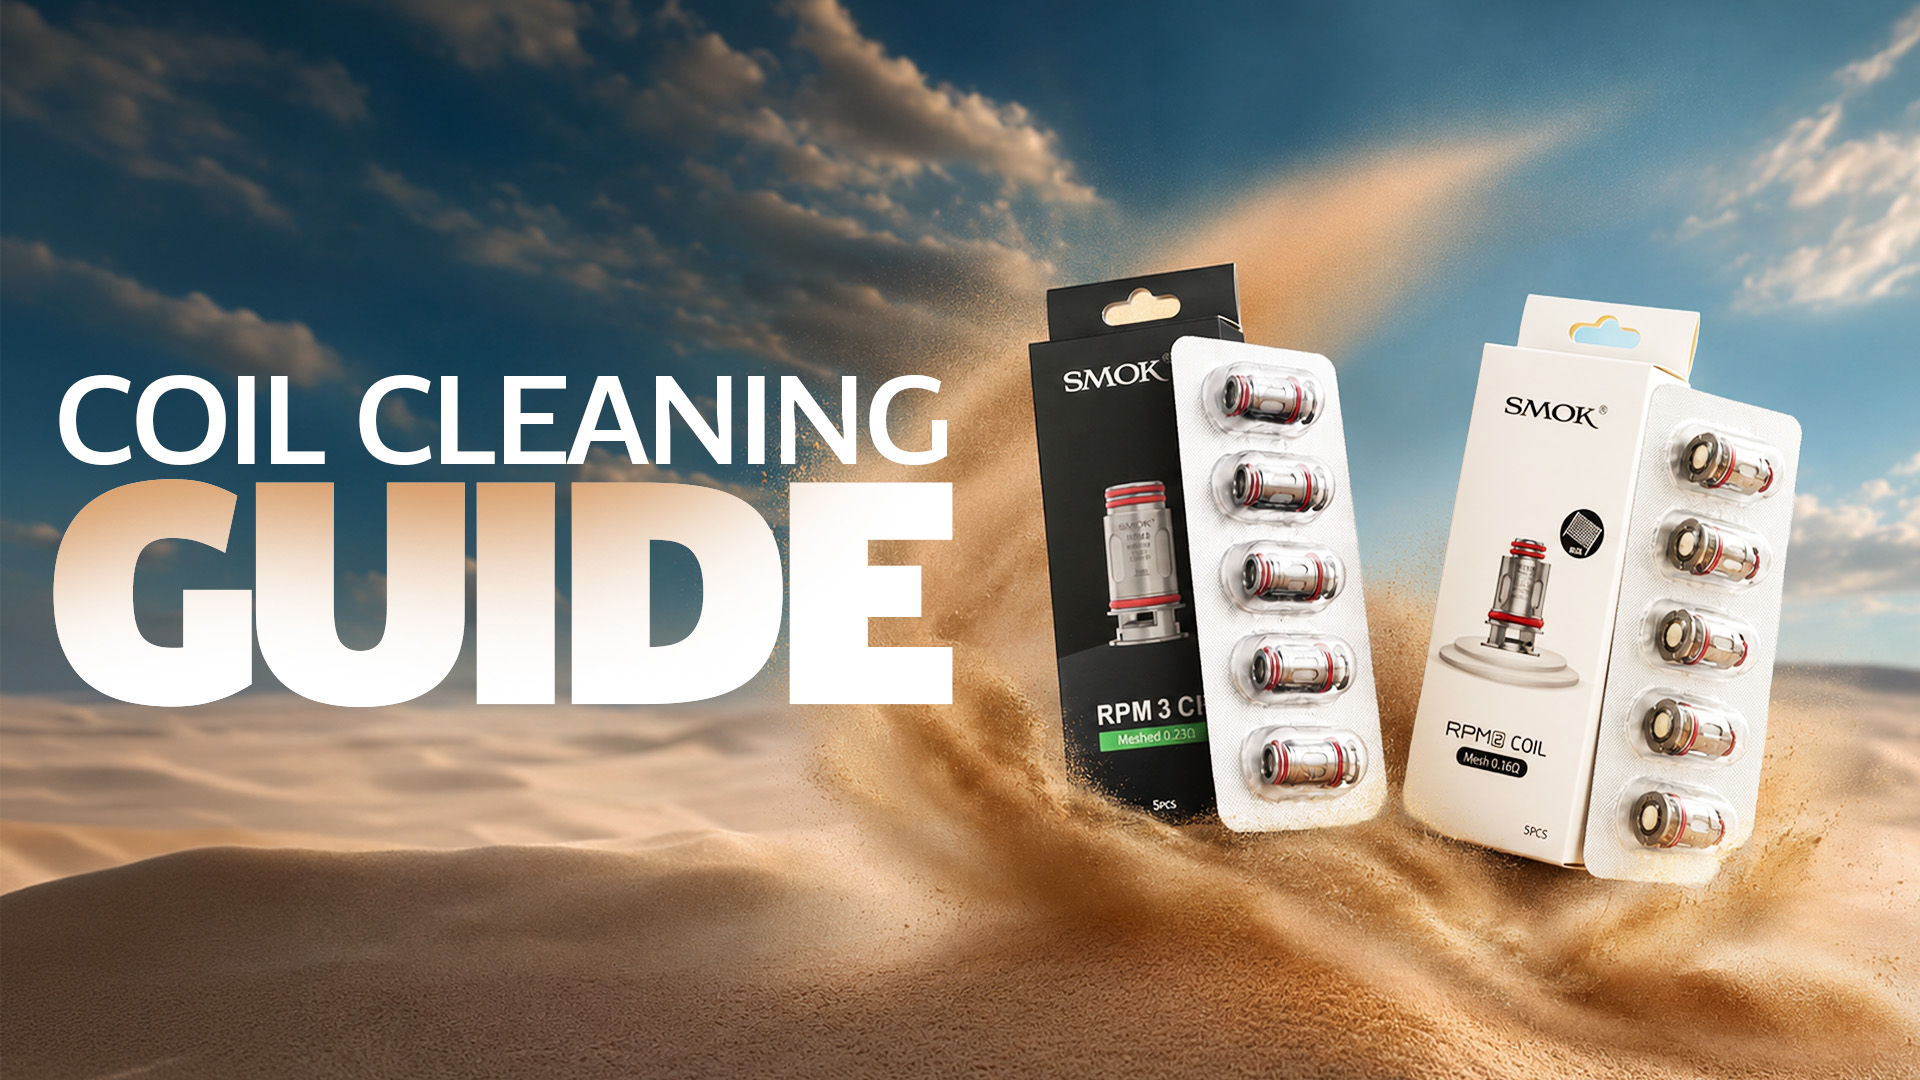
| SMOK RPM 2 Replacement Coils | 800.00 – 4,000.00 |
| Uwell Caliburn G Replacement Coils | 750.00 – 3,000.00 |
| VOOPOO – TPP-DM Coils | 850.00 – 2,550.00 |
| Smok LP1 Replacement Coils | 850.00 – 4,250.00 |
| Geekvape ZEUS Z Replacement Coils | 800.00 – 4,000.00 |
| Geekvape Aegis Pod G Coils | 650.00 – 3,250.00 |
| Uwell Caliburn G2 Coil | 750.00 – 3,000.00 |
| Smok RPM 3 Coils | 850.00 – 4,250.00 |
| Vaporesso GTX-3 Triple Mesh Coil | 750.00 – 3,750.00 |
| Smok V18 Mini Dual Meshed Coil | .900.00 – 2,700.00 |
| Smok Vape Pen Mesh Coil – 0.15 ohm | 800.00 – 4,000.00 |
| Uwell Aeglos UN2 Mesh Coil 0.23 ohm | 750.00 – 3,000.00 |
| Freemax GX Mesh Coil | 750.00 – 3,750.00 |
| CROWN M Coil | 750.00 – 3,000.00 |
| Super Mesh X1 Coils | 500.00 – 2,500.00 |
| Zenith Coils | 650.00 – 3,250.00 |
| Eco Nano Pods | 1,000.00 – 2,000.00 |
| Voopoo PnP X Coils | 850.00 – 4,250.00 |
| Vaporesso GTx Coils Triple Silicon Version | 750.00 – 3,750.00 |
| Vaporesso GTi Mesh Coils | 800.00 – 4,000.00 |
| Smok RPM 4 Coils | 850.00 – 4,250.00 |
With this wide range, you’ll likely find the exact replacement coil for your device, whether you’re upgrading or restocking after retiring an older coil.
Common Mistakes to Avoid When You Clean Vape Coils
To get the best results every time you clean vape coils, keep these tips in mind:
- Don’t rush the drying step.
- Avoid excessive dry-firing.
- Don’t reuse a coil indefinitely.
- Use the right cleaning solution.
Final Thoughts
Taking a few extra minutes to clean vape coils regularly is one of the easiest ways to keep your flavour tasting its best and get more value from every coil you buy. By following the steps in this guide rinsing or soaking, drying thoroughly, and priming before use you’ll have a reliable routine to clean vape coils whenever they need it.
And when a coil has truly reached the end of its journey, Artisan Vapor makes it easy to find the right replacement, along with a great selection of vape coils and accessories to match your best vape tank setup. Browse the full collection at Artisan Vapor to keep your device running smoothly all year round.