

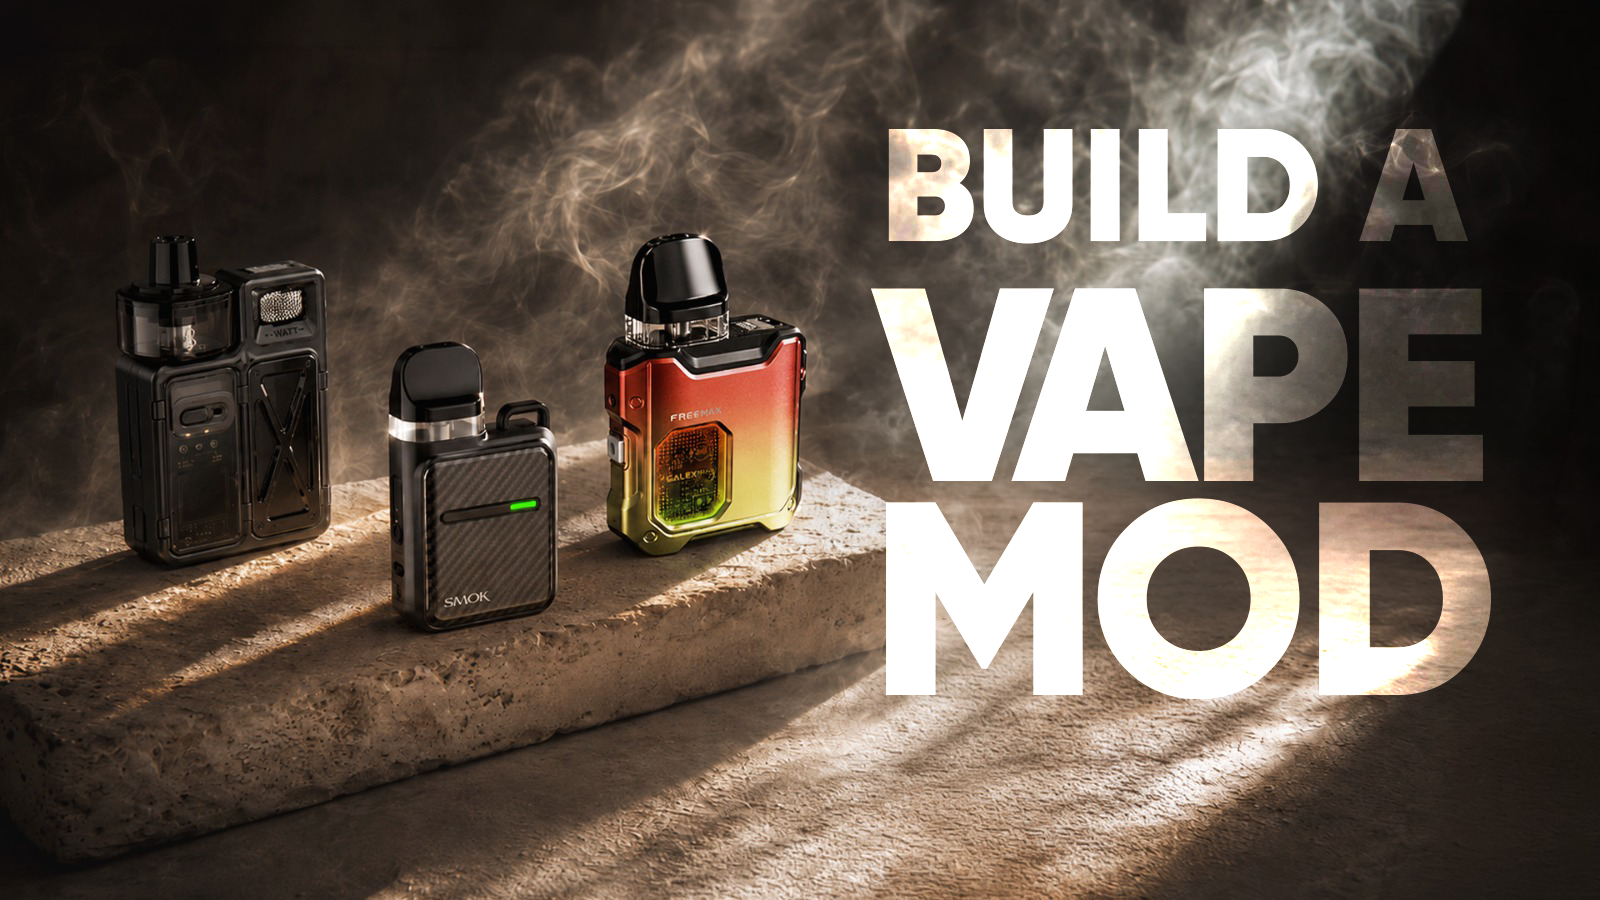
Few hobbies combine creativity and technical know-how quite like Vape Mod Building. Whether you want a device that matches your personal style, a deeper understanding of how your gear works, or the satisfaction of assembling something with your own hands, building your own mod rewards patience and careful planning.
If you have ever searched for Vape Mod Building, you have probably noticed that online advice ranges from overly simple to unsafe. This guide brings the practical information together in one place. You will learn which parts you need, which tools help, which electrical basics keep your project reliable, and how to go step by step from design to final testing.
What Is Vape Mod Building?
A vape mod is the central part of a vaping device. It houses the battery and controls the power sent to the atomiser, which heats the e-liquid. Vape Mod Building simply means assembling that device yourself, either from ready-made components or a custom design.
Most people follow one of three paths:
- Kit assembly: setting up a store-bought box mod kit with a tank and coil.
- Component builds: sourcing a battery, enclosure, switch, connector and other parts, then combining them into a custom device.
- Cosmetic customisation: personalising an existing mod with skins, wraps, drip tips and accessories.
This guide covers all three, with the most detail on component builds, because careful planning matters most. Every stage of Vape Mod Building becomes easier once you know which path you are on.
Safety First: Ground Rules Before You Start
Safe Vape Mod Building starts before you pick up a single tool. The battery is the most important part of any project, and lithium-ion cells deserve respect. Follow these ground rules:
- Buy quality parts. Choose good-quality rechargeable batteries from reputable sources and handle them with care.
- Match the battery to the build. Use cells rated for the current your setup will draw.
- Insulate every connection. Properly insulated wiring prevents accidental shorts.
- Never stack or mix cells. Don’t overcharge, and don’t use a battery that looks damaged or worn.
- Allow for ventilation. Build in enough venting so heat can dissipate.
- Work on a clean, non-flammable surface. Keep your workspace tidy and your tools organised.
- Use purpose-made components only. Improvised builds from household items such as hairdryers, flashlights or heat guns can create fire hazards.
If any step feels beyond your current skills, pause and learn more, or choose a ready-made regulated mod for now. Knowing your limits is part of good Vape Mod Building.
Types of Vape Mods Explained
Before you design anything, decide which type of mod you want to create.
| Type | How it works | Best suited to |
| Regulated | Internal circuitry controls power and adds protection against short circuits and overheating | Beginners |
| Semi-mechanical | Uses a MOSFET to manage larger currents more safely | Intermediate builders |
| Mechanical | No electronic regulation, so power passes directly from battery to atomiser | Experienced builders with a solid grasp of battery safety and device physics |
For most newcomers to Vape Mod Building, a regulated approach is the sensible starting point. Mechanical designs can be rewarding, but they demand a thorough understanding of battery safety and electrical fundamentals.
Parts and Tools for Vape Mod Building
Gathering the right components before you start saves time and prevents compatibility problems. Here is what a typical component build involves:
| Part | What it does |
| Battery | Supplies power. Common options include 18650, 20700 and 21700 cells |
| Enclosure | Houses everything. Popular materials include wood, metal and 3D-printed plastic. Aluminium project boxes are a sturdy, customisable option |
| Switch or button | Completes the circuit. A 12mm anti-vandal switch is a popular choice for its longevity and tactile feel |
| MOSFET | Used in semi-mechanical builds to protect the switch from high current |
| 510 connector | The standard connection point for atomisers and tanks |
| Wiring | Insulated wire of the correct gauge |
| Atomiser, tank and coils | Store and heat the e-liquid. Rebuildable options include RTAs and RDAs |
You will also need a few basic tools:
- Screwdrivers
- Wire cutters
- Needle-nose pliers
- A multimeter (ohmmeter) for checking voltage, continuity and resistance
- Soldering equipment for component builds
Investing in decent tools is one of the smartest moves when you start Vape Mod Building. They make each step cleaner, safer and more precise.
Choosing the Right Battery
The battery is the most critical part of your device. The 18650 is the most common choice thanks to its high capacity and power output. Larger cells such as 20700 and 21700 suit designs that need more runtime or output, depending on your enclosure size.
Keep these tips in mind:
- Prefer protected batteries where your design calls for them.
- Check the current rating and make sure it suits your coil and setup.
- Buy from reputable brands and suppliers.
- Remember that bigger batteries last longer between charges, but they also need careful handling.
If you prefer flexibility, consider a regulated setup that lets you adjust power digitally.
Understanding Coil Resistance and Ohm’s Law
Ohm’s Law is the foundation of safe electrical design:
Current (amps) = Voltage (volts) ÷ Resistance (ohms)
Regular coils typically range from 1.5 to 2.8 ohms, while sub-ohm coils run below 1 ohm. Lower resistance means more current, more heat, faster battery drain and higher e-liquid use. Higher resistance does the opposite.
Step-by-Step Vape Mod Building
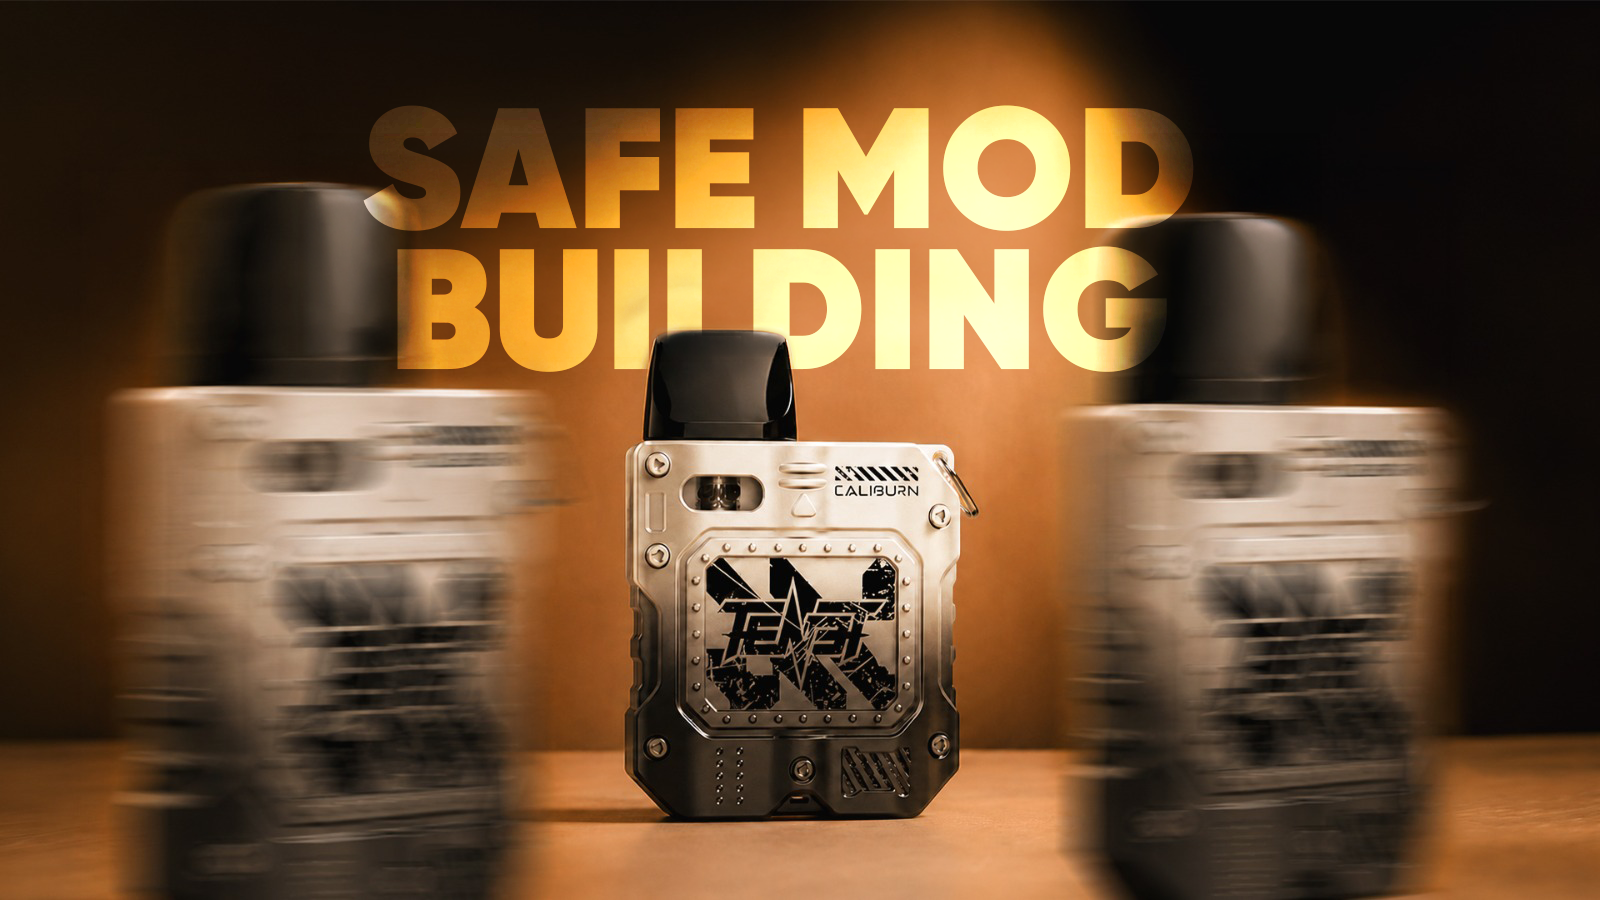
Here is a clear process for a component build. Always follow the instructions supplied with any chipset, board or part you use.
- Design your mod. Decide on form factor, battery configuration and layout. Sketch a blueprint to guide you. A steampunk style, for example, might call for a brass casing.
- Gather components. Source high-quality parts from reliable providers and confirm that everything is compatible.
- Prepare the enclosure. Drill holes for the button and connector, and create a secure battery compartment. If you are using wood, apply a protective sealer.
- Install the 510 connector. Fit it firmly and flush so it connects securely to the atomiser.
- Wire the components. Connect the battery terminals, switch, MOSFET (if used) and 510 connector according to your design. Use the proper wire gauge and insulate every joint to avoid shorts.
- Test the circuit. Before final assembly, use a multimeter to check voltage and continuity.
- Assemble the mod. Place all components inside the enclosure with a tight, secure fit.
- Run final tests. Confirm every feature works and every safety precaution is in place.
Working methodically through these steps keeps Vape Mod Building enjoyable and low-stress.
Setting Up a Box Mod Kit
If you are taking the kit route, the process is much simpler:
- Insert and charge the battery.
- Choose your e-liquid and coil.
- Prime the new coil by adding a little e-liquid to the cotton before use.
- Check the resistance printed on the coil base, then follow the manufacturer’s wattage guidance.
- Screw the coil into the tank.
- Fill the tank and let the coil soak for about a minute.
- Connect the tank to the mod.
Many kits use a five-click system to switch on, while others use screens and menu buttons, so check the included instructions. Kit assembly is the gentlest introduction to Vape Mod Building, and it teaches you the basics of coils, resistance and power settings.
Testing and Troubleshooting
Careful testing catches problems early. If something is not working, use this table as a starting point:
| Symptom | Likely cause | What to check |
| Device won’t fire | Loose connection or drained battery | Re-check wiring, charge the battery, test the firing button |
| Weak or no heat | Coil not seated properly or wrong resistance | Re-seat the coil and confirm resistance with a multimeter |
| Tank leaks | Poor seal or overfilling | Inspect tank seals and tighten connections |
| Burnt taste or dry hits | Coil not primed, or power too high for the coil | Let the coil soak longer and lower the wattage |
| Device feels hot | Overloaded circuit or a short | Stop using it, remove the battery and inspect insulation and ratings |
Good testing habits are the hallmark of dependable Vape Mod Building. Test at each stage rather than waiting until the end.
Customising Your Mod
Personalisation is one of the most enjoyable parts of the hobby. Once your mod is working reliably, consider:
- Drip tips in different shapes and materials
- Skins and wraps for a fresh look and added surface protection
- Battery sleeves or cases for tidy storage and transport
- Voltage meters or digital displays for extra functionality
- Stickers or engravings to make the design your own
Casing materials also shape the final look. Wood, brass, aluminium and 3D-printed plastic each give a distinct character, so pick the one that suits both your style and your skill level.
Maintenance and Care
A well-built mod deserves regular upkeep:
- Clean the tank regularly to prevent residue and keep flavour fresh.
- Replace coil heads every one to two weeks, depending on how often you use the device.
- Inspect batteries for damage or wear, and retire any cell that looks compromised.
- Check connections and insulation from time to time, especially after moving or dropping the device.
Common Mistakes to Avoid
Even experienced hobbyists slip up now and then. Watch out for these:
- Skipping the design sketch and improvising mid-build
- Pairing a battery with a coil it cannot safely support
- Leaving wiring uninsulated or loosely connected
- Rushing the testing stage
- Buying unreliable components to save a little money
Avoiding these mistakes will make your first round of Vape Mod Building far smoother.
Frequently Asked Questions
What is the best battery size for Vape Mod Building?
The 18650 is the most common choice because of its capacity and power output. The 20700 and 21700 are also popular, depending on your enclosure size and power needs.
Should beginners start with a regulated or mechanical mod?
A regulated mod is the better starting point because its circuitry provides built-in protection. Mechanical mods are better left to experienced builders.
Do I need soldering skills?
For component builds, basic knowledge of electronics, soldering and safe building procedures is very helpful. Kit assembly does not require soldering.
Can I use any atomiser with my mod?
Not always. The 510 connector is standard, but you should still confirm the atomiser suits your mod’s power output and design.
Is building cheaper than buying a finished mod?
Sourcing components yourself can save money, but factor in the time, tools, and learning curve.
Final Thoughts
Vape Mod Building brings together creativity, technical skill and careful planning. You choose the design, the materials and the finishing touches, and you learn a lot about batteries, resistance and circuits along the way. Start with a design you can manage, use quality components, test at every stage, and let safety guide every decision. Whether you begin with a simple kit, a custom component project or a cosmetic makeover, take your time and enjoy the process. With the right preparation, your next chapter of Vape Mod Building can produce a device that is truly your own.